
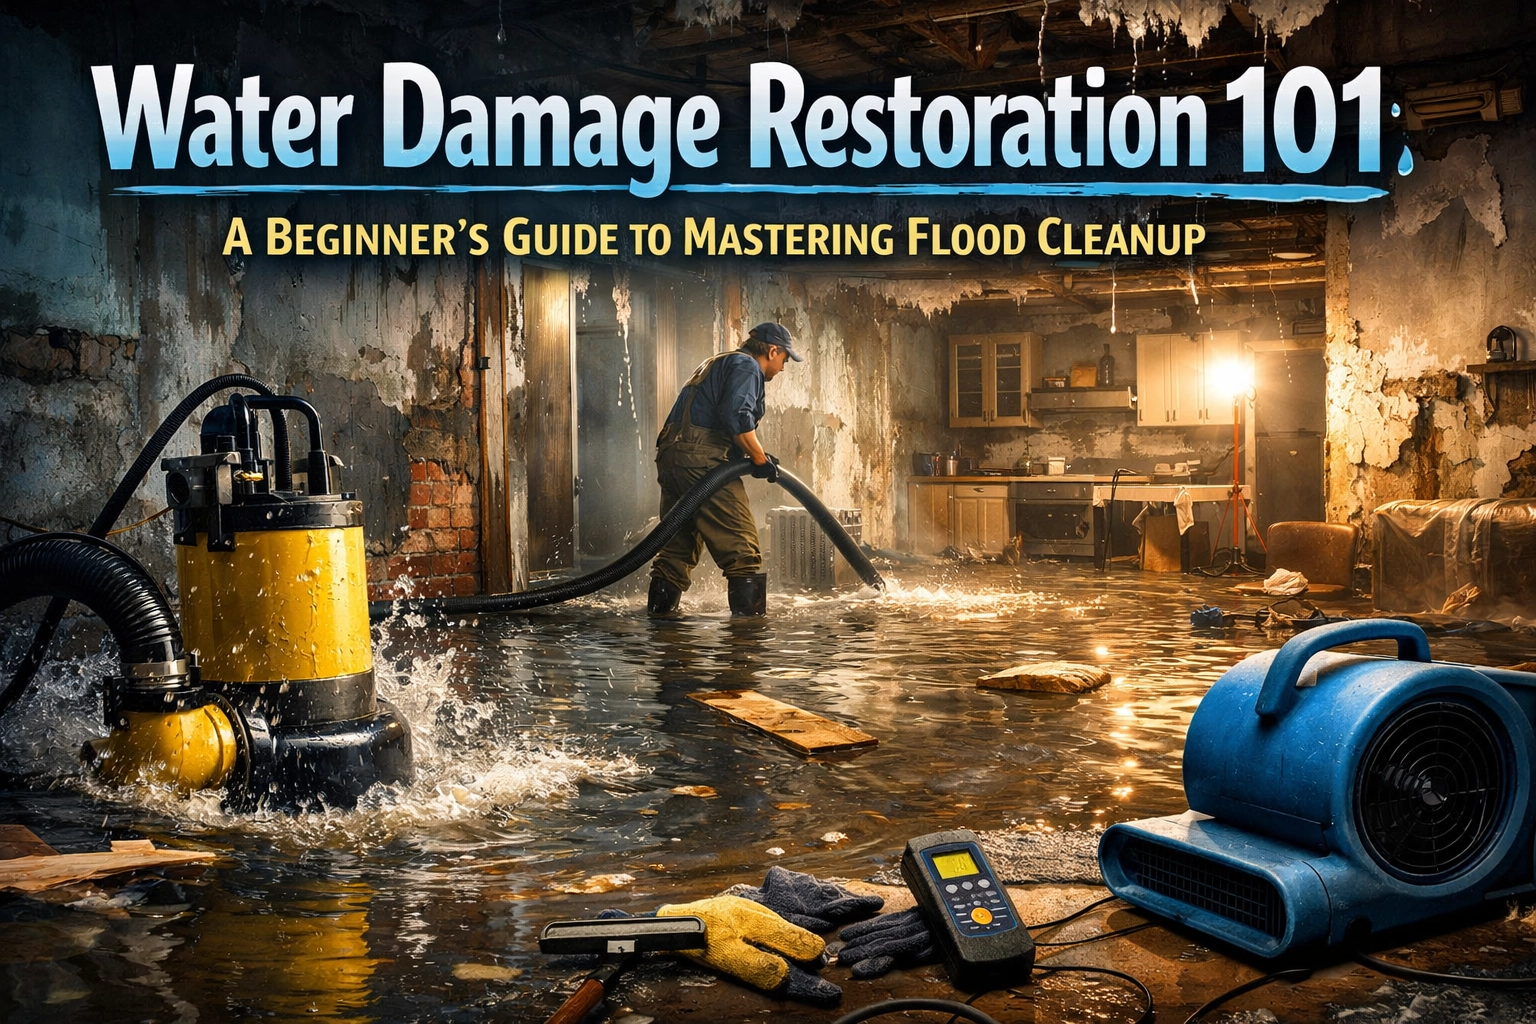
Finding a pool of water in your living room or a soggy mess in your basement is enough to make anyone panic. Whether it’s from a burst pipe, a leaky roof, or a flash flood, water damage is one of those household nightmares that requires immediate attention. But don’t worry, you don’t have to face it alone.
Welcome to your beginner’s guide to mastering flood cleanup. At My Water Damage Hero, we believe that understanding the water damage restoration process is the first step toward getting your home back to normal. We’re going to walk through the steps, talk about why timing is everything, and even touch on how this relates to other services like mold remediation and fire damage restoration.
Let’s dive in, hopefully not literally!
When you first see the damage, your instinct might be to grab a bucket and start scooping. While we love the enthusiasm, the very first thing you need is a plan. A professional restoration team starts with a thorough inspection and assessment.
Why? Because water is sneaky. It hides behind baseboards, under floorboards, and inside drywall. During the assessment, pros determine the water source and, more importantly, the category of the water. Is it "Clean Water" (from a broken pipe), "Gray Water" (from a dishwasher or washing machine), or "Black Water" (sewage or floodwater from outside)?
Safety is the priority here. Before anyone steps into a flooded area, the electricity and water supplies need to be shut off. You don’t want to mix standing water with live electrical outlets. Once the area is safe, tools like moisture meters and thermal imaging cameras are used to see exactly how far the water has traveled.
Now comes the heavy lifting. Once the plan is in place, it’s time to get the standing water out of your house. This is the mitigation phase. The goal is to stop the damage from getting any worse.
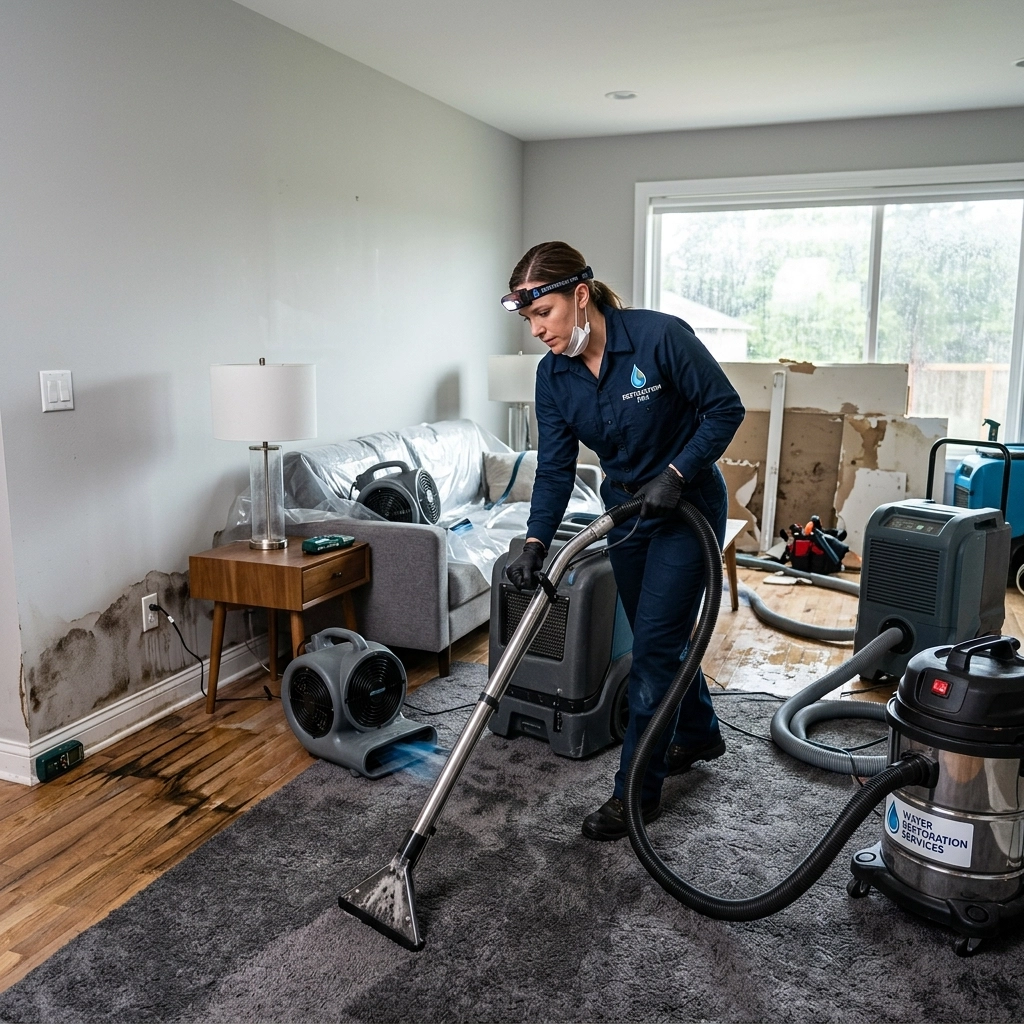
If you’ve got a couple of inches of water, a shop vac won’t cut it. Professionals use industrial-grade submersible pumps and powerful truck-mounted extractors. These machines can pull hundreds of gallons of water out of your home in minutes.

The faster this water is removed, the less likely it is to seep into your subflooring or rot your structural beams. This is also the stage where we look at your carpets. Professional carpet cleaning and extraction can sometimes save a rug if the water was clean, but if it’s been sitting for too long, it might be time to say goodbye.
Just because you can’t see the water anymore doesn't mean your home is dry. Materials like drywall, wood, and insulation are "porous," meaning they act like a giant sponge. If you leave them damp, you’re basically inviting mold to move in.
This is where the big guns come out: high-speed air movers and industrial dehumidifiers. These aren't like the little fans you buy at the hardware store. They are designed to pull moisture out of the air and the materials themselves.
Proper drying can take anywhere from a few days to a week, depending on how much water there was. Pros will continue to use moisture meters during this time to make sure everything is reaching "dry standards." If you skip this step, you’ll likely be calling for mold remediation services within a month.
Floodwater isn’t just wet: it’s often dirty. Even "clean" water becomes contaminated once it sits on your floor and mixes with household dust, chemicals, or pet dander.
This stage is all about health. Everything that can be saved needs to be cleaned and disinfected. This includes:
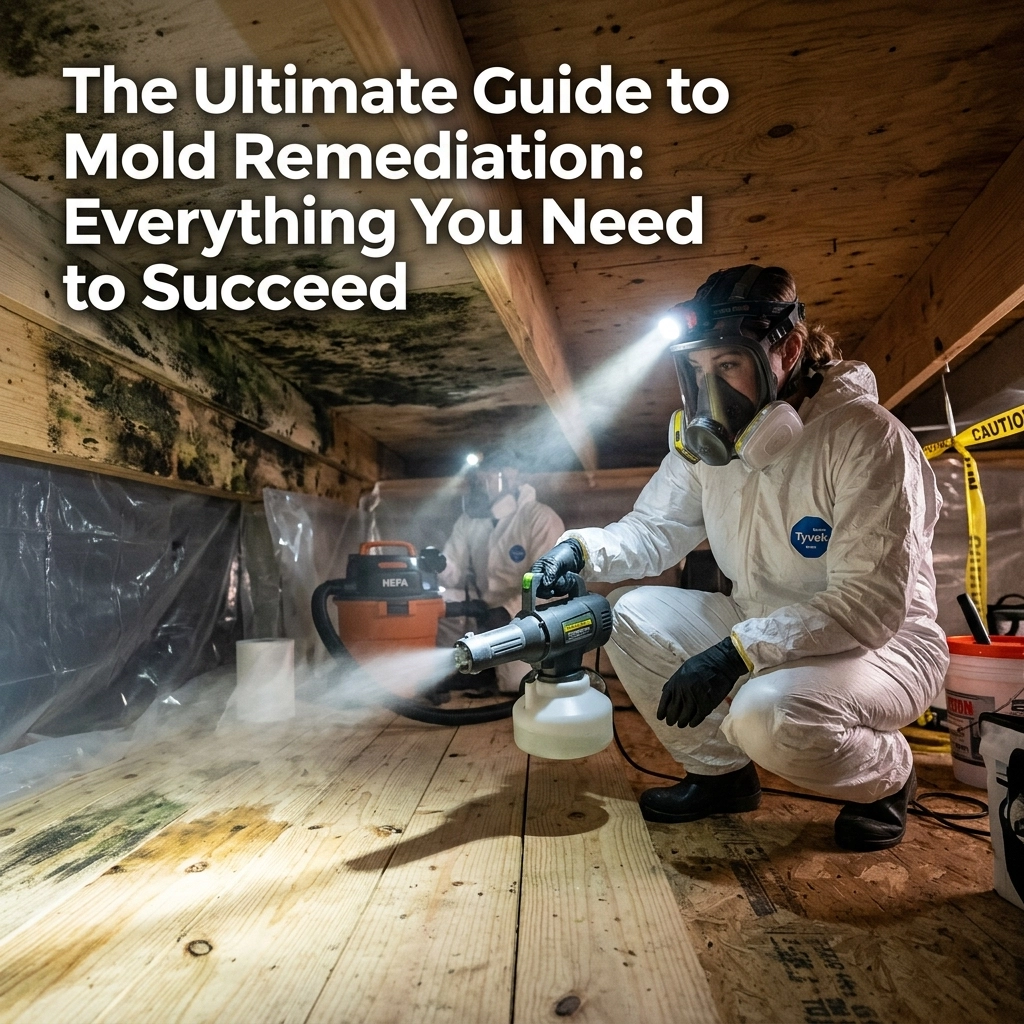
If mold has already started to grow (which can happen in as little as 24 to 48 hours), this is when the mold remediation process begins in earnest. We use HEPA vacuums and specialized cleaning agents to ensure your air quality is safe for your family to breathe.
The final step is the most rewarding: putting your home back together. This is the restoration phase. It can range from minor repairs like replacing a few feet of baseboard and a fresh coat of paint to major construction projects like rebuilding entire walls or replacing the flooring.
Restoration is about more than just making things look pretty again. It’s about ensuring the structural integrity of your home. Sometimes, this involves coordinating with other maintenance tasks. For example, if your walls were opened up, it might be the perfect time to look into air duct cleaning to ensure no dust or mold spores from the construction are lingering in your HVAC system.

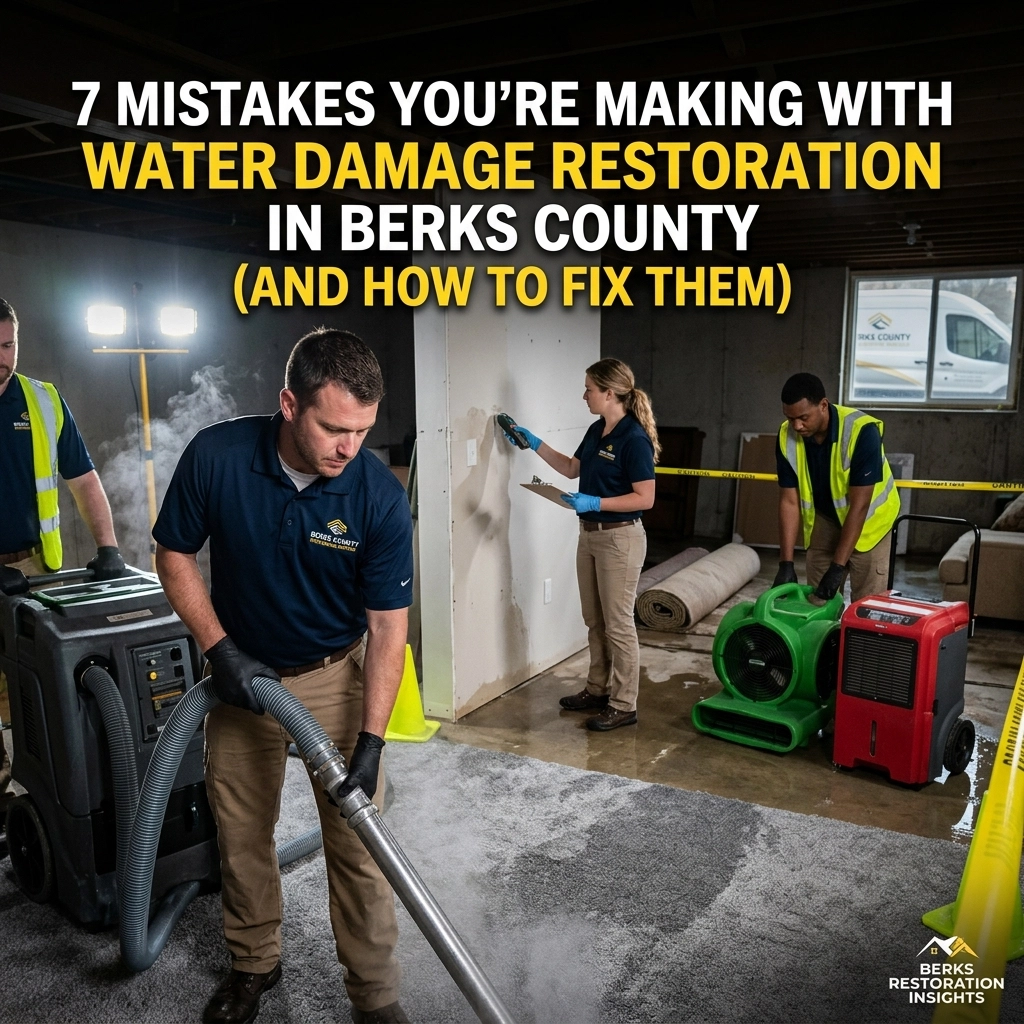
We get it: you’re a DIYer. You want to save money. But water damage is one of those things where "doing it yourself" can actually cost you thousands more in the long run. Here’s why:
It might seem strange, but restoration services often go hand-in-hand. For instance, after a fire, you often have significant water damage because of the fire hoses used to put out the flames. This means a fire damage restoration project almost always starts with a water damage restoration phase.

Similarly, moisture in the air often travels through your vents. If you’ve had a major flood, air duct cleaning is a smart move to make sure your home’s air quality remains high and no moisture-related allergens are being blown from room to room.
You’ll hear these terms thrown around a lot. Here’s the simple breakdown:
You need both to successfully recover from a flood.
If there’s one thing we want you to take away from this guide, it’s that time is your biggest enemy. Within minutes, water spreads to other rooms. Within hours, your drywall starts to swell and disintegrate. Within 24 hours, mold can begin to colonize.
At My Water Damage Hero, we’ve seen it all. We know that a flood is more than just a mess: it’s a disruption to your life and your family’s comfort. That’s why we’re here to help guide you through the process, from that first frantic phone call to the final coat of paint.
Whether you need water damage restoration, a quick carpet cleaning after a minor leak, or serious mold remediation, remember that the goal is always the same: a safe, dry, and happy home.
Keep this guide handy, keep our number on speed dial, and remember: you don't have to be a superhero to handle a flood. You just need to know who to call!
Contact us for quick, trusted restoration.
See how we’ve turned tough situations into success stories.