
Let's be real: discovering mold in your home is nobody's idea of a good time. That fuzzy green or black stuff creeping across your bathroom ceiling or basement walls isn't just unsightly. It's a sign that something's going on with moisture in your home, and it needs to be dealt with sooner rather than later.
The good news? Understanding mold remediation doesn't require a PhD. This guide breaks down everything you need to know about identifying, removing, and preventing mold in your home: in plain English.
Mold remediation is the process of identifying, containing, removing, and preventing mold growth in your home. Think of it as a systematic approach to getting rid of mold and making sure it doesn't come back.
Here's the thing most people don't realize: mold is really just a symptom of a bigger problem. Mold needs two things to grow: moisture and oxygen. Since we can't exactly remove oxygen from our homes (that would be a problem), the real focus is controlling moisture.
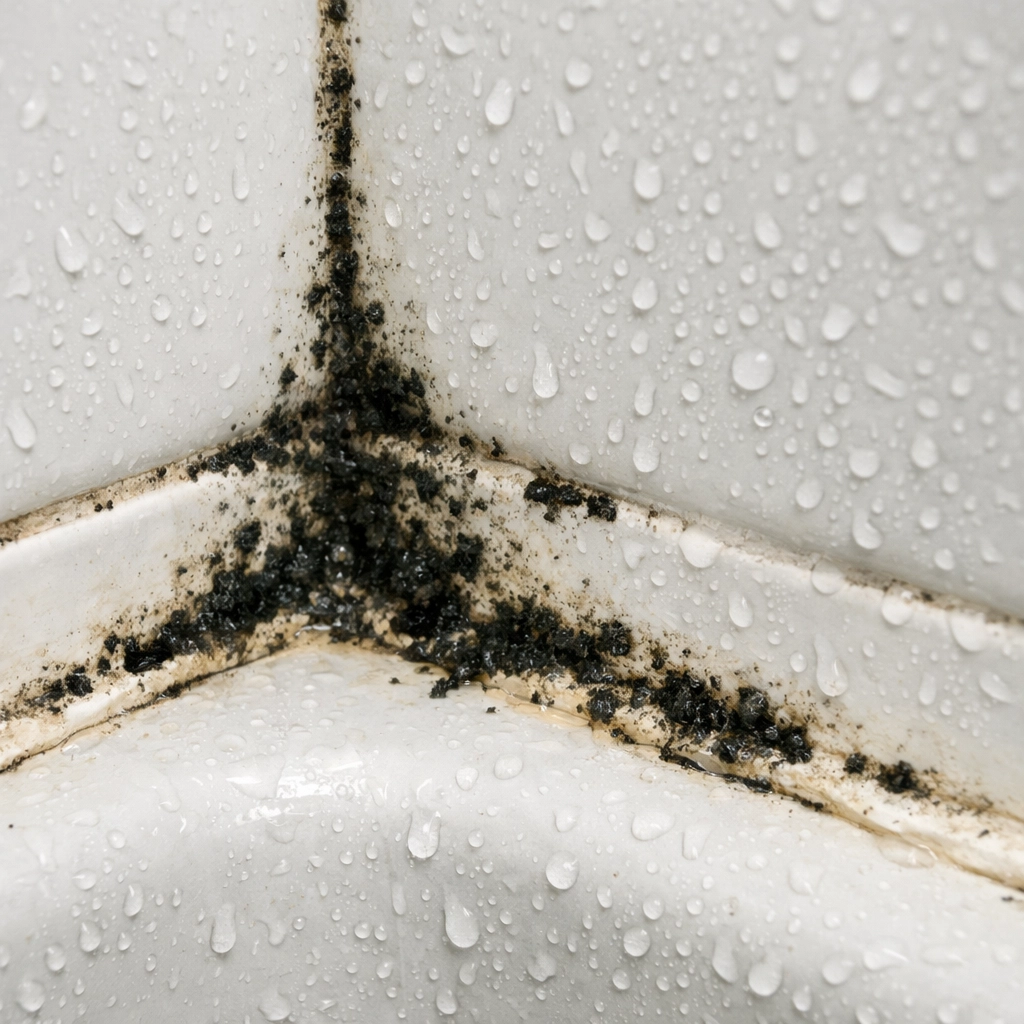
Mold isn't picky, but it definitely has favorite spots. Keep an eye on these common problem areas:
Basically, anywhere moisture accumulates regularly is a potential mold hotspot.
Before you even think about cleaning mold, you need to figure out where it's coming from. Look for signs of water damage, check for leaks in pipes or roofs, and identify areas with poor ventilation.
Professional inspectors use fancy tools like moisture meters and infrared cameras to detect hidden mold behind walls or under floors. But you can start with a good old-fashioned visual inspection and your nose: mold often has a musty, earthy smell.
Critical point: Fix the water source first. Cleaning mold without addressing the moisture problem is like bailing water out of a boat without plugging the hole. It's just going to come back.

Once you've located the mold, it's time for containment. This step is super important because mold spores are tiny and love to travel. Use plastic sheeting and tape to seal off the affected area from the rest of your home.
This prevents spores from spreading to clean areas while you work. Think of it like putting up quarantine barriers: you're stopping the contamination from spreading.
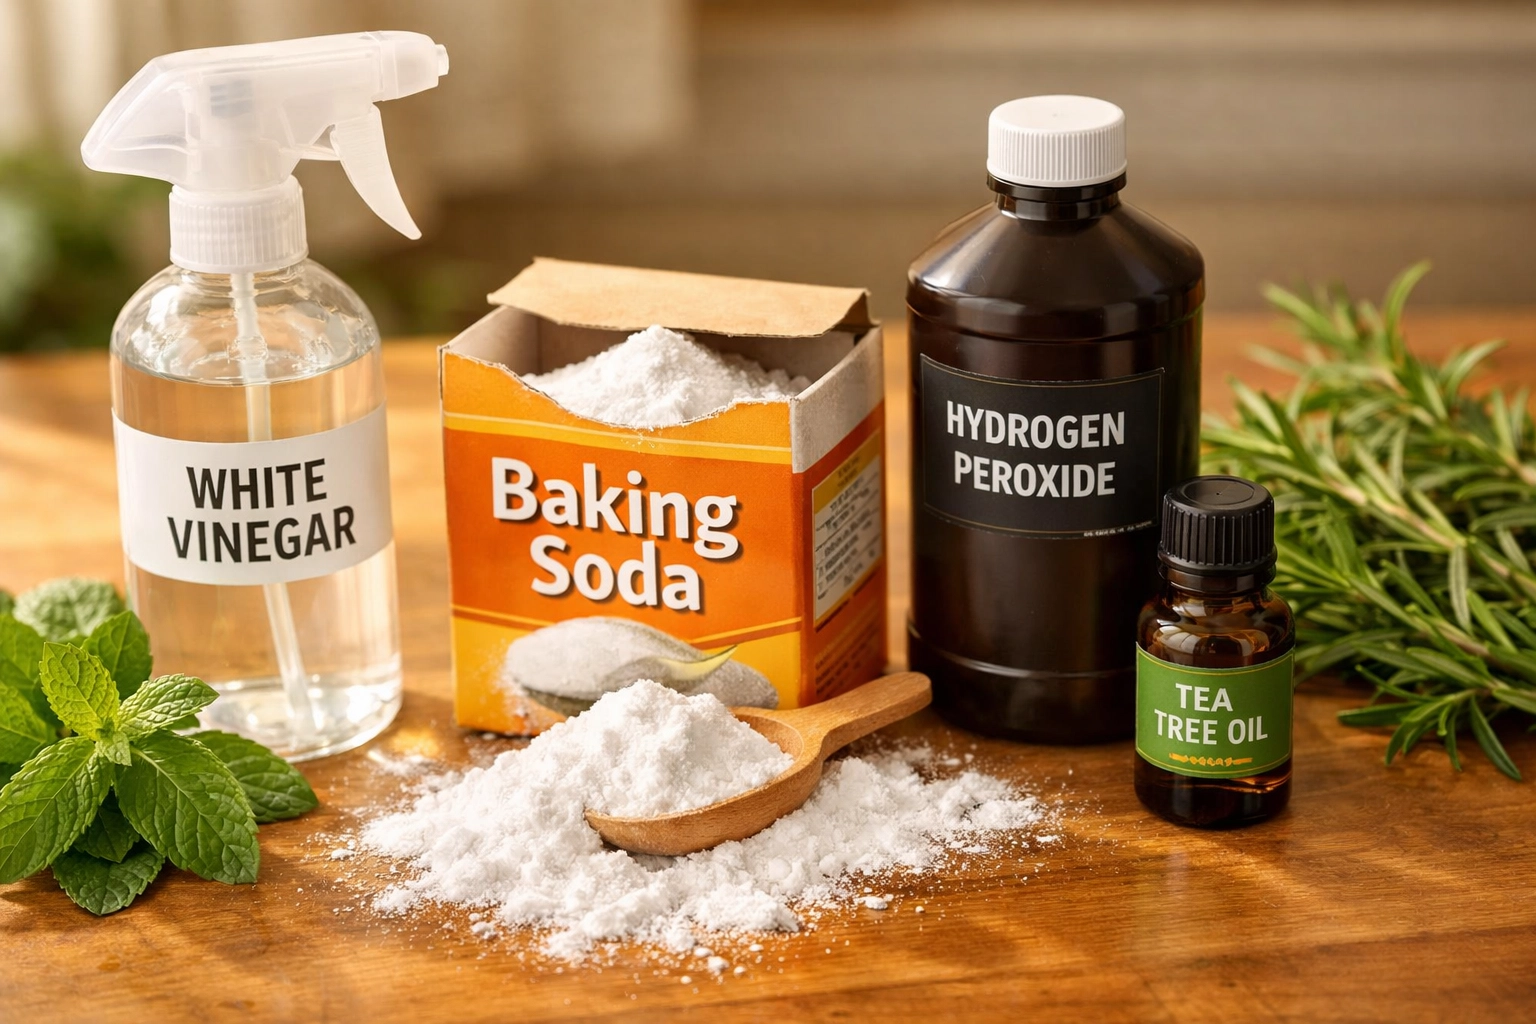
Now comes the actual cleaning part. You've got several options that actually work:
White Vinegar: This kitchen staple kills about 82% of mold species. Spray it on undiluted, let it sit for at least an hour, then scrub and rinse. Easy and effective.
Baking Soda: Mix a quarter tablespoon with water in a spray bottle. Spray, scrub, rinse, and spray again to help prevent regrowth.
Hydrogen Peroxide: Another solid alternative that's effective against mold.
Tea Tree Oil: A natural fungicide option if you're willing to spend a bit more.
A word of warning: Never, ever mix bleach with ammonia or other cleaners. That combination creates toxic fumes that are seriously dangerous.
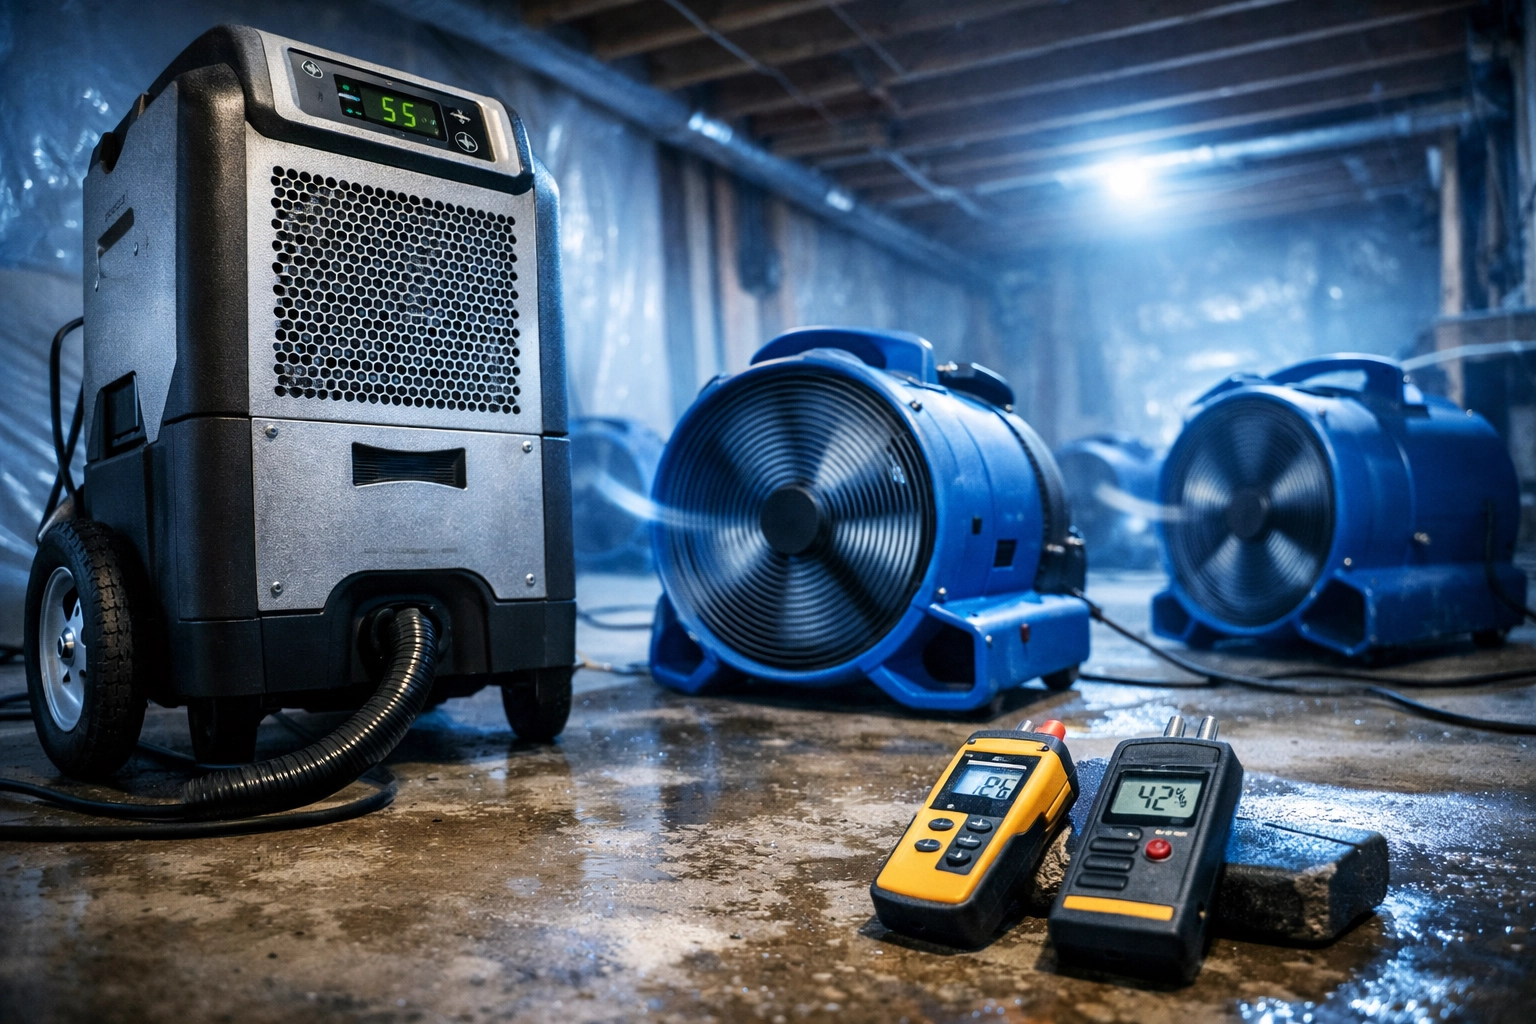
After cleaning, you need to get everything bone dry. Set up fans, crack windows (if weather permits), and run dehumidifiers. The goal is to keep indoor humidity below 50%.
Monitor moisture levels regularly with a hygrometer: you can pick one up at any hardware store for pretty cheap. If things stay damp, you're just creating conditions for mold to come back.
Use HEPA (High-Efficiency Particulate Air) filters to capture airborne mold spores. After remediation, vacuum all surfaces three times with a HEPA vacuum to remove dust and dead mold spores that might be hanging around.
This step ensures you're not just moving mold around: you're actually removing it from your environment.
Sometimes DIY just doesn't cut it. Contact a professional mold remediation service like My Water Damage Hero if:
Professional teams have specialized equipment and EPA-approved treatments that can tackle serious mold problems more effectively than DIY methods. They can also apply encapsulating products that create barriers against future mold growth.
Once you've dealt with a mold problem, you definitely don't want to do it again. Here's how to keep mold from coming back:
Control Humidity: Keep indoor humidity below 50% using dehumidifiers in damp areas like basements and bathrooms.
Ventilate Properly: Use exhaust fans when cooking or showering. Open windows when weather allows to let fresh air circulate.
Fix Leaks Immediately: Don't put off that dripping faucet or that small roof leak. Water damage leads to mold, period.
Clean Regularly: Stay on top of moisture-prone areas. Wipe down shower walls after use, clean up spills right away, and don't let wet items sit around.
Improve Airflow: Make sure air can circulate throughout your home. Don't block vents, and consider running ceiling fans to keep air moving.
Before you start any remediation work, take photos or videos of all the damage. This documentation could be crucial for insurance claims.
Review your homeowner's insurance policy carefully: some policies exclude or limit mold damage coverage, especially if the mold resulted from neglected maintenance. Report the issue to your insurer promptly, as timing matters for claim approval.
Mold remediation doesn't have to be mysterious or overwhelming. At its core, it's about controlling moisture, cleaning thoroughly, and staying vigilant about prevention. Small mold problems can often be tackled with DIY methods, but don't hesitate to call professionals when the situation calls for it.
Remember, the key to successful mold remediation isn't just removing what you can see: it's addressing the underlying moisture problem and creating conditions where mold can't thrive. Do that, and you'll protect both your home and your family's health.
Need help with water damage restoration or mold remediation? Visit My Water Damage Hero to connect with experienced professionals who can help you tackle any moisture-related issues in your home.


Contact us for quick, trusted restoration.
See how we’ve turned tough situations into success stories.